
Create Recurring Events
You can create Recurring Events in IQ4. When creating a Recurring Event, you determine the frequency, the start date and time and the end date and time. Based on the information you enter in these fields, IQ will create individual events that follow these criteria. You can then edit the Recurring Event record to affect a change on all events, or you can edit individual events to effect a change on one event.
1.Open the Events Menu, and select the Recurring Event link in the New column.
.png)
2.Enter the Repeat Type (Daily, Weekly, or Monthly).
3.Select an option to Repeat Every. The Frequency options change based on whether you select Daily, Weekly, or Monthly in the Repeat Type field.
4.Enter the Frequency.
5.The Event defaults to your default calendar. Select additional calendars for this Event if needed.
6.Select a Start Date and Time, and an End Date and Time.
7.Enter Subject information. Typically this is a description of the Event.
8.Check the Sync with Outlook box if you wish to synchronize this Recurring Event with your Outlook calendar.
9.Use the Save button.
Edit a Recurring Event for all Records
1.Open the Events Menu, and select the Recurring Event link in the Find column.
2.Open the Recurring Event by clicking on the Name of the Event.
3.To make a change to the Recurring Event record, changing every instance of the Event, make those changes in the General panel.
4.Use the Save button.
Edit a Recurring Event for an Individual Record
1.Open the Events Menu, and select the Recurring Event link in the Find column.
2.Open the Recurring Event by clicking on the Name of the Event.
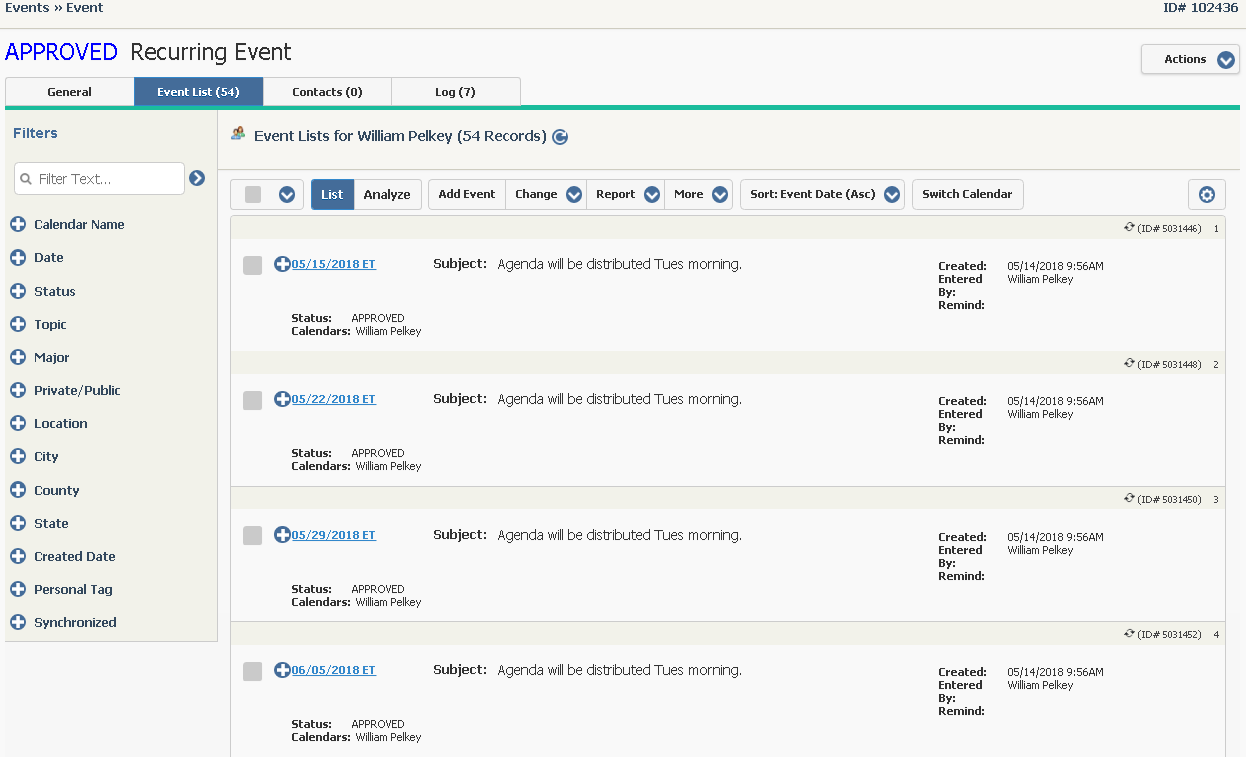
3.To make a change to an individual Event, leaving all other Events unchanged, open the Event Lists tab.
4.Locate the Event you would like to change from the list, and select it.
5.Use the Change button at the top of the List View and select the Change option.
6.Make the change and use the Save button.
Copyright © 2020 Leidos Digital Solutions, Inc (DSI)