
Create and Print an Outreach Postal Mailing
There are four steps to creating an Outreach Postal Mailing. First, you must select an appropriate format. You will choose from the list of formats that have already been created by and for your office. Second, you will draft the content of your letter using the HTML editor to type or paste content, add images, and determine formatting. Once your content is complete, you will select the audience to which you will send the Outreach. You can determine the audience based on Affiliation codes, or you can select or create a list of Contacts using other criteria. Finally, you can schedule building and printing your Outreach Postal Mailing.
Create an Outreach Postal Mailing
1.From the Outreach menu, select Targeted Mailing in the New column.
2.Open the content type HTML Form Letters, All Form Letters or Form Letter Template that is appropriate for this mailing.
3.Search for and click the form letter or format link. (IQ displays the contents to the right of the list)
4.Click the Select button. (IQ displays the Full HTML Editor.)
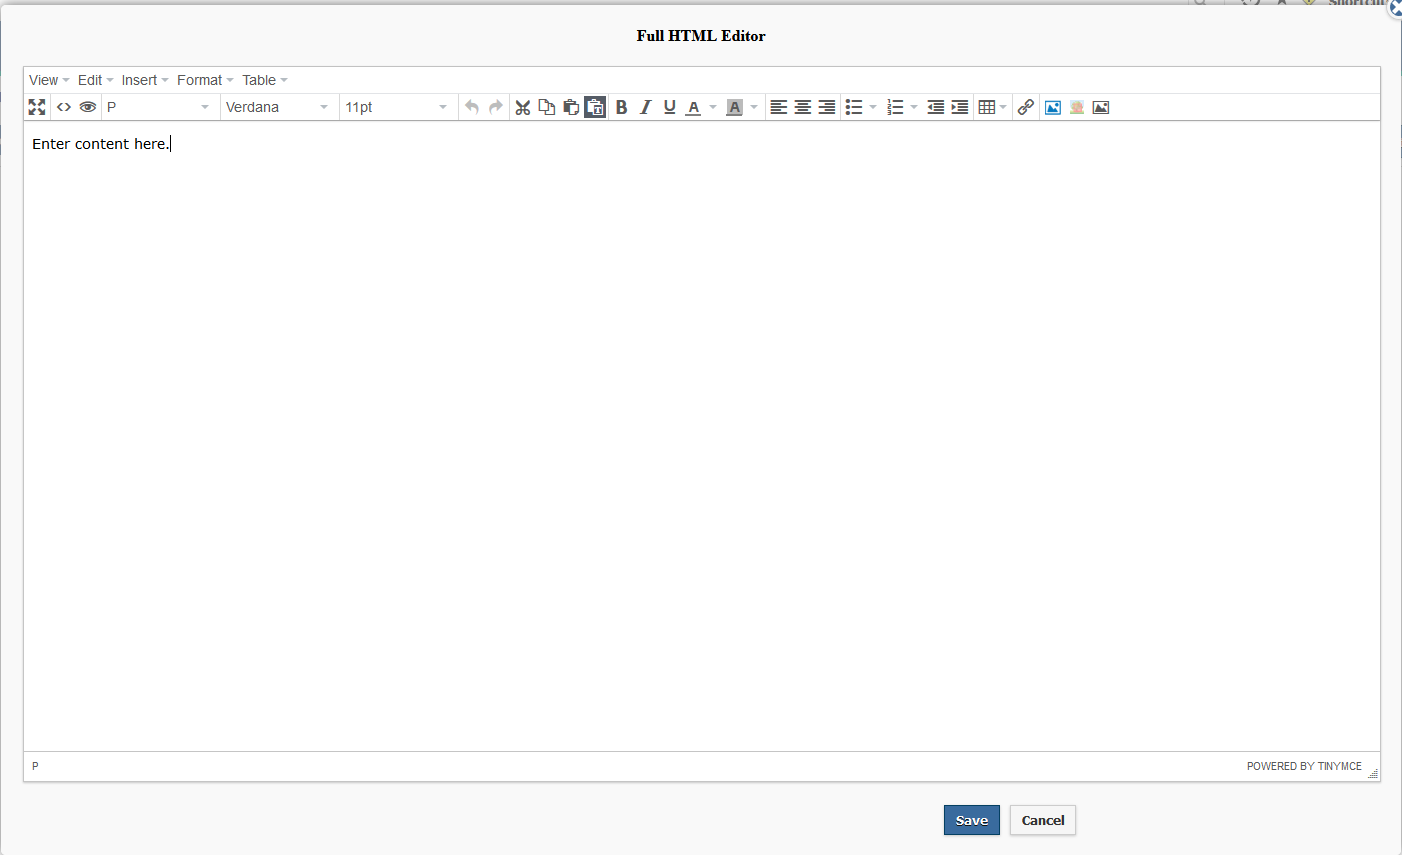
5.In the HTML Editor, type or paste the content of your letter. Use the editor options to insert images and determine formatting.
6.Click the Save button to save your content and close the HTML Editor.
7.Click the Select Audience button to go to the next step.
8.IQ populates the Name field with a default name. You may remove it and enter a more meaningful name for your printed mailing.
9.The Start With field defaults to No Contacts, which means you will need to select criteria such as Affiliations, Issues, etc. to select your Audience. Or if there is an existing saved List of Contacts, you may select it by clicking in the Start With field. There is also an option to "Create New List' using the Select Processor.
.png)
10.Select any criteria you wish to use to include Contact records in the Add contacts with ANY of these attributes field.
11.Select any criteria you wish to use to exclude Contact records in the Exclude contacts with ANY of these attributes field. If you wish to use this selection of Affiliation, Issue codes, etc. as a default for exclusions, select Set Default Exclusions under the Actions menu.
12.The Postal Filter defaults to Individual, which will include all Contacts that meet the criteria. You may select "Household" or "Head of Household" if you want to limit the mailing to only one Contact in a Household. If your office doesn't use the Household Contact feature, then "Unique Address" will only select one record for the same mailing address.
13.Select the salutation you would like to use in the Salutation field. The default salutation in this field is based on your User Preferences.
14.The Audience Selection field defaults to "Use the Entire Audience". If you select "Randomly Select from the Audience", IQ displays an Audience Size field populated with 499. You may change the number to meet your office requirements.
15.If you wish to get a general idea of how many Contact records will be included in the mailing, use the Review Audience Size option in the Actions menu.
16.Click the Review button to go to the next step.
17.In the Start field, select whether to Build Only or to Build and Print.
18.If you wish to schedule the Build for another date and time, enter the date in the first field and the time in the second field.
19.Click the Build button to go to the next step.
•If you have opted to Build Only, IQ displays the Status page. Once the Build process is completed, the Status page is updated with Delivery Status: BUILT and Audience Size. There are also links for Cancel and Mark as Complete. Click the Print button when you are ready to Print.
•If you have opted to Build and Print, IQ briefly displays the Status page and then opens the Print Final and Close dialog where you can select the printer or download option. Note: This dialog will display a list of errors such as Contact records with incomplete mailing addresses or if the selected form letter status isn't Approved.
Edit or Print an Outreach Postal Mailing
1.From the Outreach menu, select either My Open or All Open in the Find Outreach column.
2.When you locate the Outreach message you would like to edit or print, click the Outreach Name link. The Outreach Postal Mailing wizard opens in the last step you were in. Use the navigation buttons Change Layout, Content, Select Audience or Review to go to a specific step.
3.Once you have edited the mailing and are ready to Print it, select the Print button.
Edit List of Recipients
1.Prior to sending, you can edit the list of recipients for a Postal Outreach Mailing. From the Outreach menu, select either My Open or All Open in the Find Outreach column.
2.When you locate the Outreach message you would like to add/remove individual Contacts, click the Outreach Name link.
3.Select Message Record in the Actions menu.
4.From the Message record, open the Contacts tab.
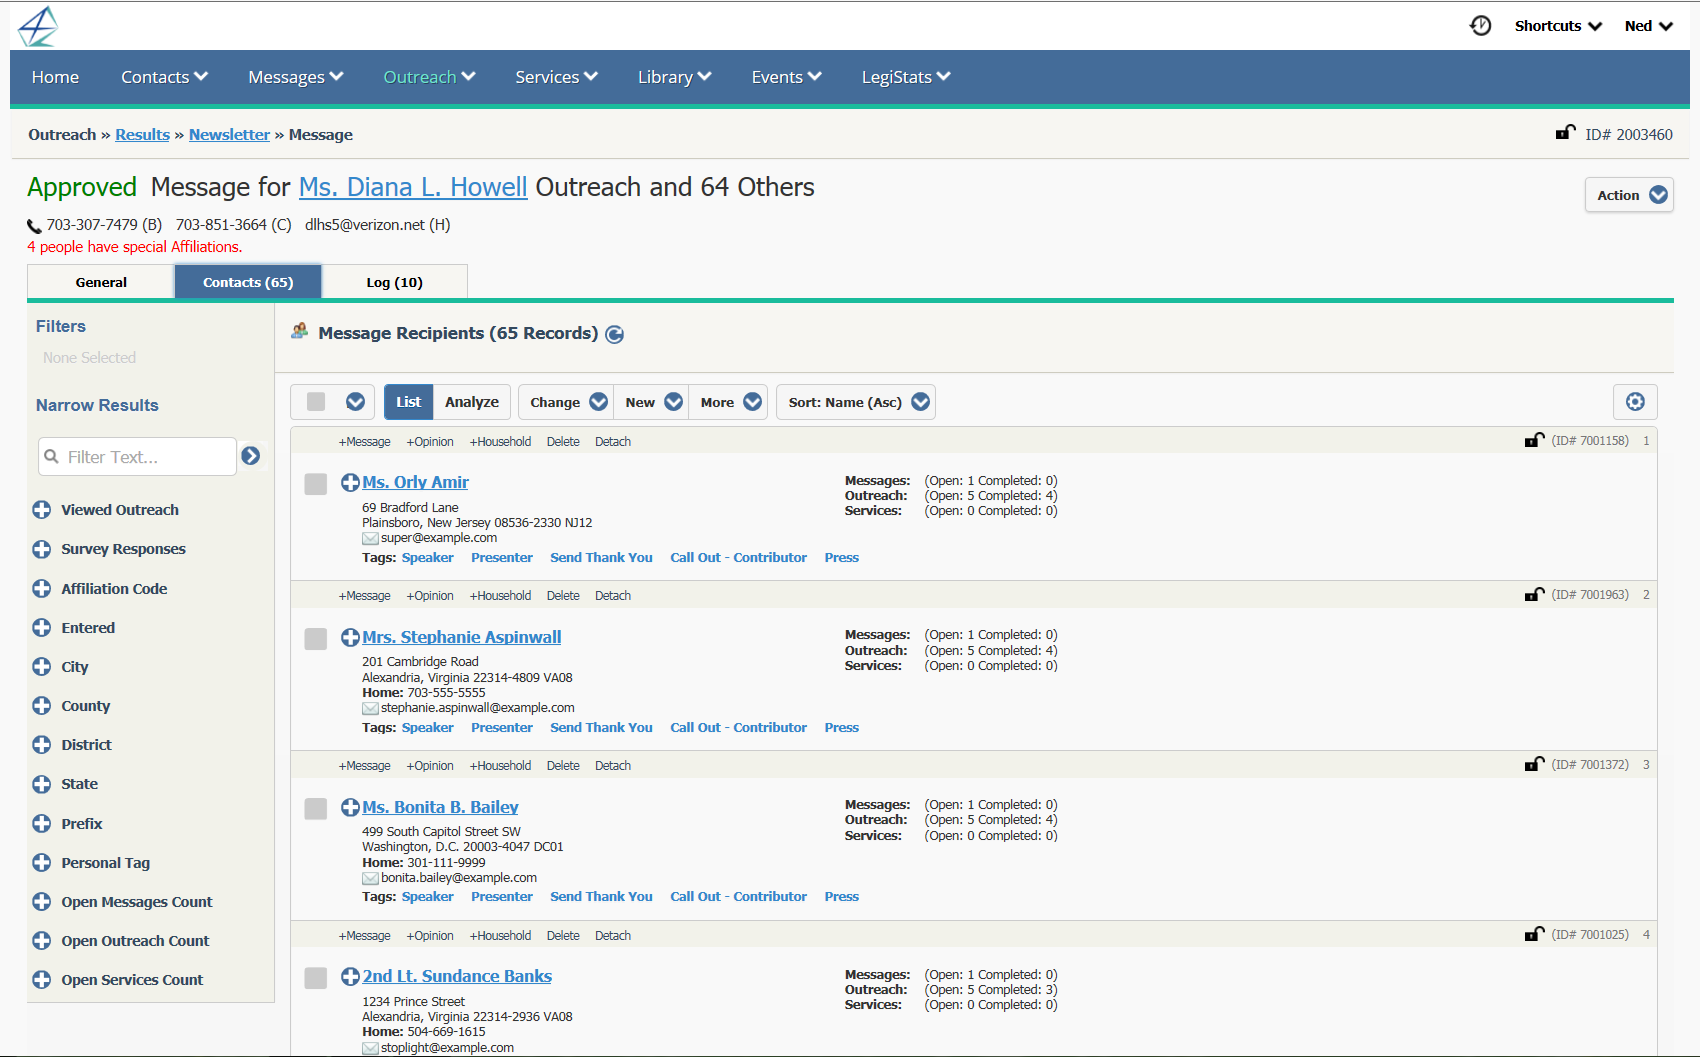
5.Use the Detach in-row action to remove a single Contact or select multiple records and select Detach Contacts in the Change menu to detach multiple Contacts from the mailing.
6.Use the More button to Attach Contacts. Locate or create the Contact records you wish to attach to the mailing.
7.Use the More button to Split Contacts. This will allow you to split a large list into smaller print jobs.
Copyright © 2020 Leidos Digital Solutions, Inc (DSI)