A Report record exists for every report. Standard Report records can be viewed only. Custom Report records can be created and edited by users with Security Lock #109 granted. A Report record contains the following panels: Report, Header, Detail, Footer, Break and Status Log. The Report panel contains general information about the report such as its Name, Description, and Input Source along with the user and date the report was created and last revised. The other panels contain information specific to what text and data the report will include and how it will be displayed. Actions in the Report record page include: Copy Report, Delete Report, Download Template, Export Template, Run Report, Test Report SQL, Upload Template, View Criteria Page.
Several fields on the Report panel of the Report record are filled in automatically when the report is added. A default value can be changed unless the field is read only, for example, the Standard or Custom field. The bottom of the Report panel contains the read only fields Created By and Last Revised By which display the date and time the report was created or last updated along with the IQ user. The Last Revised By field is updated when the Save or Save and Close actions are selected or when prompted to save changes with the Close action.
The following other fields are available in the Report panel:
This field is populated based on the type of List used to create the report, or the IQ Module (such as People or Mail) you are accessing when you use the Add Report action.
Enter the name of the Report. This name will appear as a hyperlink in the Reports page. Users will click on the Name link to run the report.
The description entered in this field will appear in the Reports page to provide information about the purpose and content of the report.
This field will always be set to Custom for user-created reports.
This field determines from what source the data is provided for use in the report. Click in this field and select Select List Criteria page, Criteria Screen Builder page, or Program.
Click in this field and select a criteria page that consists of the prompts set up within the Screen Builder panel of a List. Note: This field is displayed only when Select List Criteria Page is selected as the Input Source.
Click in this field and select a criteria page that was created using the Criteria Screen Builder tool in the IQ Admin Client. Note: This field is displayed only when Criteria Screen Builder Page is selected as the Input Source.
This string contains the program, Report name, and List data required to run the report.
The third party editor which is integrated with the IQ Report Writer produces content HTML, as such, HTML Report Writer is the default setting for this field. Other options include RTF Report Writer and Programmed.
This field is displayed/available when HTML Report Writer output options include Microsoft Word, Microsoft Excel and PDF. You may also specify if the output format should be limited to only Word, Excel or PDF.
Select this checkbox to make the report available as a sub report that is nested within the results of another report.
Choose Active to allow the report to be displayed in the Reports submenu for the associated IQ module and List Record page. Select Archived if you do not want the report to be displayed.
Determines if the report is available as a Quick Report for a selected IQ module. Click in this field and select the IQ module that you would like this report to be available as a Quick Report. Choose No Quick Report Selected if you do not want the report available as a Quick Report.
By default, the Paper Size for the report is set to Letter (8.5 by 11). Select Legal if you would like to print the report on 8.5 by 14 paper.
By default, the Orientation for the report is set to Portrait and can be changed to Landscape if all of the columns do not fit in Portrait.
The report font type defaults to Microsoft Word's default font. Click in this field and select Arial, Courier New, etc. if you would like to use another font type.
Leave this field blank to use Microsoft Word's default font size or enter a specific font size if you want to use another font size for this report.
The Top Margin is set to .5” by default, and can be set as required.
The Bottom Margin is set to .5” by default, and can be set as required.
The Left Margin is set to .5” by default, and can be set as required.
The Right Margin is set to .5” by default, and can be changed as required.
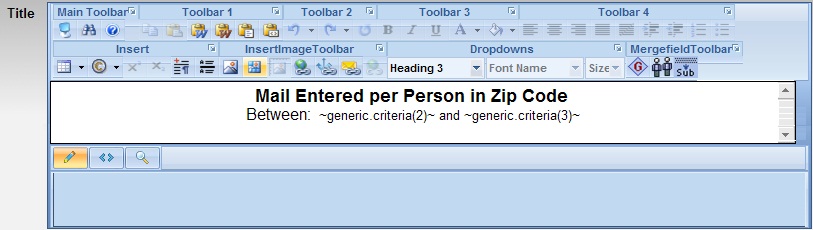
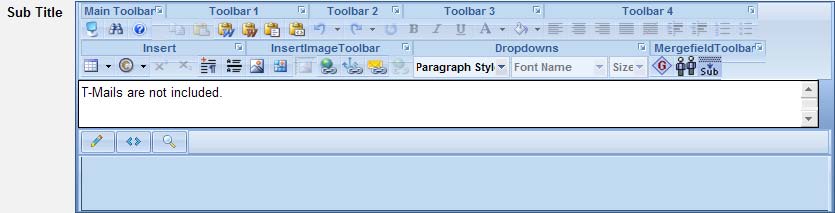
The Header panel contains the Title and Sub Title sections of the report. Each section has a built-in editor to assist you in defining its content. What you enter in these sections will be combined with the content of sections in the Detail, Footer, and Break panels to form the complete report.
To create the Title for the Report, place your cursor inside the white area of the Title section and enter the text. You can enter merge fields to insert data in the Title, as well. The editor also contains a Merge Field Toolbar with buttons for inserting generic merge fields, module specific merge fields and one for inserting a sub report.
 Generic
Merge Fields button is used for inserting generic merge fields,
such as the following:
Generic
Merge Fields button is used for inserting generic merge fields,
such as the following:
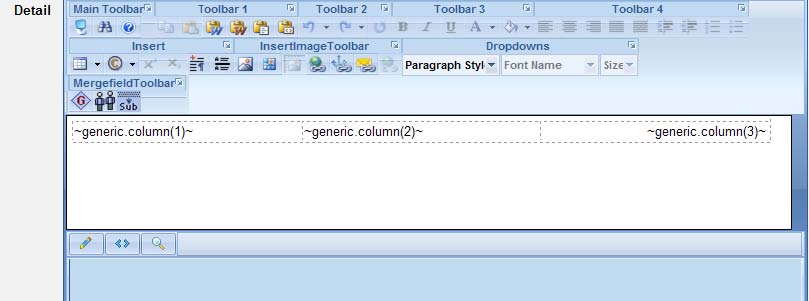
additional generic merge field for a column from the report’s primary select (Report SQL), i.e. ~generic.column(#)~
generic merge fields that retrieve information not provided by the Report SQL such as the current date ~generic.todaysdate~, or criteria from the report criteria page ~generic.criteria(#)~
insert a page break merge field, ie. ~generic.pagebreak~
Note: If you receive a dialog page prompting you to enter a parameter to pass to the Merge Field, enter the number or string that corresponds with the piece of data you want to merge. For example, if you want the value a user has entered in the Report Criteria page to appear in the Title of the report, click the Generic Merge Fields button, select the ’Criteria from the criteria page’ option, and then enter the appropriate criteria field’s position number as the parameter to pass to the Merge Field &endash; Criteria. If you enter 2 in the dialog page and click Submit, IQ will construct the generic criteria merge field ~generic.criteria(2)~ and place it in the Title section.
Module-Related Merge Fields button is used to insert merge fields that retrieve module-related data not specifically provided by the Report SQL. The appearance of the button, as well as the list of specific merge fields it offers, is based on the module (i.e. People, Mail, Workflow, Documents, or Calendar) selected in the Class Name field on the Report panel. The following are the available module-related merge field buttons:
 People Merge Fields
  Mail Merge Fields
  Workflow Merge Fields
  Document Merge Fields
  Calendar Merge Fields
 Create a
Sub Report button is used to insert a merge field which allows
you to embed another report (already identified as a Sub Report) within
the current report. For example, your primary report may include merge
fields for the Workflow module you could insert a sub report which contains
People or Mail merge fields.
Create a
Sub Report button is used to insert a merge field which allows
you to embed another report (already identified as a Sub Report) within
the current report. For example, your primary report may include merge
fields for the Workflow module you could insert a sub report which contains
People or Mail merge fields.
After you have entered the Title and Sub Title you want to be displayed in the Header of the report, click the Save button, and then click the Detail tab.
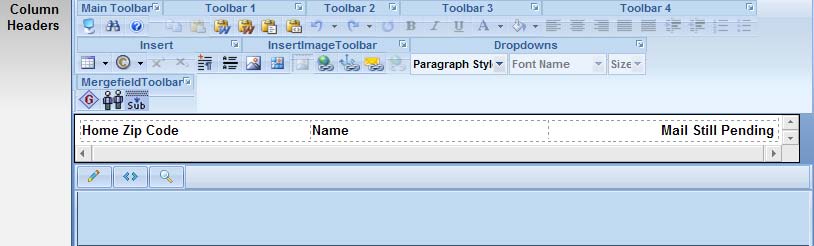
The Detail panel contains the Column Headers and Detail sections; each section has a built-in editor to assist you in defining its content. What you enter in these sections will be combined with the content of sections in the Header, Footer, and Break panels to form the complete report.
Actions in the Report record that can be helpful while working in the Detail panel are Edit Criteria Page, Run Report, and Test Report SQL.
Select this action to access the Criteria Builder panel of the List Record associated with the Report. You can return to the Report record by clicking the Edit <report name> Format action.
Select this action to run the report at any time, for example, to make sure the format is correct and all information is presented in the report as expected.
This action is helpful when you are positioning generic-column merge fields, because you will see the order in which the corresponding grouped columns appear in the SQL statement. This helps in numbering the fields correctly in the report.
In the Footer panel, you enter a footer for your report if one is required. The footer you enter will be placed at the bottom of each page in the report.
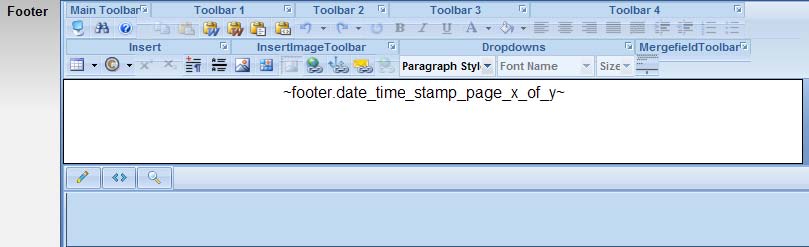
To insert a merge field in the Footer of your report:
Use the Align Left, Align Center, or Align Right button on the Tool Bar to position your cursor where the merge field should appear.
Click on the Footer
Merge Fields icon  and select a merge field in the Footer Merge Fields for&ldots;Report
dialog page.
and select a merge field in the Footer Merge Fields for&ldots;Report
dialog page.
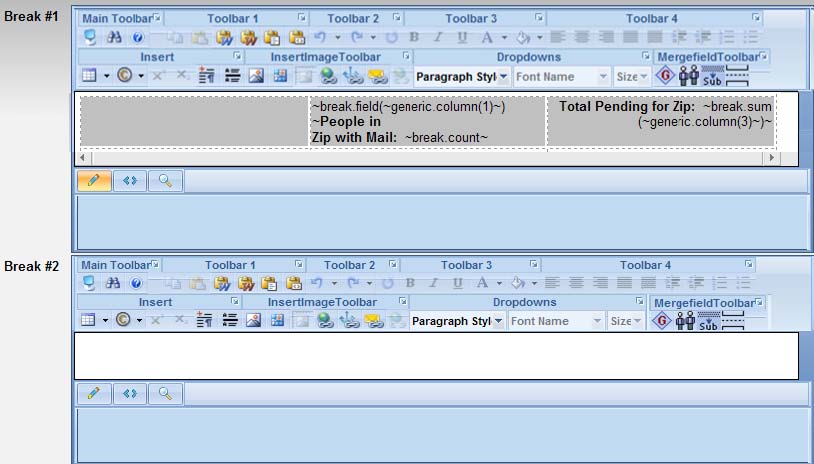
The Break panel contains three sections: Break #1, Break #2, and Total. What you enter in the Break #1 and Break #2 sections determines the break points in the data presented in the report. For example, a People Report with People information grouped together and listed based on Zip Code, can have a Break to create a separation between each Zip Code listing. Along with the Break on Zip Code, the report can include a count for each Zip Code.
The Total section is where a Count, Sum, or Percent on rows for the entire report can be defined.
In the Break
panel, the Break Merge Fields
icon  appears on
the Merge Field Toolbar in addition
to those available on the Header
and Detail panels. It
is used in the two Break sections to insert commands for the breaks, and
in the Total section to insert a Count, Sum, or Percent for the overall
report.
appears on
the Merge Field Toolbar in addition
to those available on the Header
and Detail panels. It
is used in the two Break sections to insert commands for the breaks, and
in the Total section to insert a Count, Sum, or Percent for the overall
report.
When you select the Break Merge Fields icon, IQ displays a dialog page where you must choose one of the following:
Select this option to have the report break based on a specific field; in the dialog page, enter the field on which it should be applied.
This option will count the number of Detail rows displayed in the report.
Select this option to display the Break line before the rows they provide information for, instead of below the rows.
This option works with the Break on a Field to have the report begin a new page after every break line is printed.
This option causes the report to break to the next page without printing anything at the break point line.
Select this option to give a percentage for the sum of a field in the Break line of the report. Enter the field on which the percentage should be calculated.
Provides the sum on a field in the Breaks or Total for the report. Enter the field on which the sum should be calculated.
Use this to refresh the Header of the report after every Break, for example, when the Header includes a merge field that displays data from the retrieved records.
To enter Break Merge Fields for the Report:
Click in the section, Break #1 or Break #2, where you want to insert a break.
Click the Break Merge Fields icon on the Merge Fields Toolbar.
Select a merge field from the list in the Break Merge Fields for&ldots;Report dialog page.
Enter a Parameter to pass to the Merge Field, if prompted to enter one, ~generic.column(1)~ for example.
If you want a Count, Sum, or Percent for all rows in the Report, click in the Total section and click the Break Merge Fields icon on the Merge Fields Toolbar.
The Status Log panel contains a history of changes made to the report. Information includes the date and time the change was made, the IQ user who made the change and a description of what was changed. In addition, there are links to previous versions of the HTML template for the report. This allows the user to "fall back" to the report's prior version before changes were made.